EN: A few weeks ago I was walking around the top floor of the Bullring in Birmingham, when I came across the most amazing blush lace trench coat by Burberry, needless to say it was way out of my budget, but I couldn’t stop thinking about it. I was in dire need of a new trench coat, my old one is 8 years old and way too small… so I started looking at different patterns from Burda to McCall’s to Vogue to the Robson Coat, but none of them really appealed to me. I think one of the reasons was, that thy all looked a bit too classic (and some looked a bit dated, to be honest…) Then Deer and Doe and wonderfully chic French sewing label released their new spring collection, and would you believe it, they had a cute, modern trench coat that ticked all the boxes for me. It had a fuller skirt, bound button holes and was finished with bias binding. You can guess how long it took me to press order!
DE: Vor einigen Wochen habe ich einem Kaufhaus in Birmingham den allerschoensten Rosa farbenen Spitzen Trench Coat von Burberry entdeckt. Es war Liebe auf den ersten Blick, aber mein Geldbeutel machte mir da ganz klar einen Strich durch die Rechnung. Ich habe noch Tage spaeter an diesen Trench gedacht und beschlossen mir selber einen zu naehen, mein alter Trench war schon fast 8 Jahre alt und mir viel zu eng. Es begann die Suche nach dem passenden Schnitt, ich schaute mir Muster von Burda, McCalls und Vogue and geliebaeugelte den Robson Coat, aber DER RICHTIGE war irgendwie nicht dabei. Ich vermute, viele der Schnitte waren mir ein wenig zu klassisch und zum Teil auch etwas altbacken. =/ ABER DANN! Deer und Doe, dieses fantastisch, schicke Franzoesische Schnittmusterlabel bracht 3 neue Muster, Anfang letzter Woche auf den Markt und deren Trench Coat der Luzerne, war genau dass, was ich gesucht hatte. Mir gefiel wie modern der Schnitt war, dass der Rock etwas weiter war und dass alle Naehte mit Querband versaeubert wurde. GENIAL!
 I ordered 4 meters of peachy-blushy twill off eBay, unfortunately it’s currently sold out, but they have some really nice alternative colors, so take a look! The fabric was only 1.10m wide and I was sweating bullets because I wasn’t sure if it would be enough. I cut a straight size 40 and managed to get all the pieces out of the 4 meter, PHEW!!!(I did lengthen the skirt by 2 inches, because I wanted the trench to be a bit longer!) For the bias binding I looked through my stash of liberty pieces and found a vintage looking yellow piece which was about 45 cm long. I cut 2.5 inch strips on the bias and then sewed all the pieces into one long strip. I then folded the strip in half and pressed it, I usually do this, when I make binding for my quilts and it always turns out great, so NO REGRETS!!! I think the hardest part of making this coat is really cutting everything out and preparing the fabric and ironing it.
DE: Ich bestellte 4 Meter von einem Rosa-Pfirsich Twill ueber eBay, die Farbe ist leider ausverkauft, aber der Haendler hat noch viele schoene andere Farben, also tobt euch aus! Der Stoff war jedoch nur 1.10m breit, und ich hatte etwas Panik, dass ich nicht genug Stoff hatte um alle Teile ausschneiden zu koennen, aber Entwarnung, es ging sich aus! Ich habe Groesse 40 ohne irgendwelche Anpassungen ausgeschnitten. Fuer das Querband habe ich mein Lager durchkaemmt und einen Liberty Stoff in Gelb Toenen gefunden den ich dann in 2.5inch Streifen geschnitten habe und dann in Querband verarbeitet habe. Diese Methode verwende ich fuer meine Quilts und bisher ist auch nie etwas schief gegangen. Ich muss zugeben, das anstrengendste an diesem Muster ist wahrscheinlich das Ausschneiden und das Produzieren von Querband!

EN: To the instructions, if you are looking for some serious handholding while making this, you will be disappointed. The instructions have illustrations, but are brief and to the point. I recommend looking at YouTube videos if you are unsure on how to attach the binding or how to make the bound button holes. I think Deer and Doe try to cater to seamstresses, that have a little bit more experience, which isn’t a bad thing at all, however if I were a beginner, I might need some help.
DE: Was die Anleitung angeht, solltest du darauf hoffen, dass man dir die Hand haelt und dir alles erklaert, wirst du enttaeuscht sein. Deer and Doe gehen davon aus, dass ihre Kunden schon etwas Erfahrung haben, es gibt zwar Bilder fuer alle Schritte, aber die Erlaeuterungen dazu sind meistens kurz gehalten. Solltest du also nicht genau wissen, wie du mit dem Querband hantieren sollst oder nicht genau verstehst, was du mit den Knopfloechern machen sollst, empfehle ich dir YouTube!!

EN: Putting the coat together was really straight forward, I’ve sewn a few things from Deer and Doe before and they always come together beautifully, I love the very chic finish, Hong Kong binding really is something special, isn’t it? I just realized that I haven’t made any effort to pretty up my seams since I’ve gotton my overlocker, I used to french seam everything =/
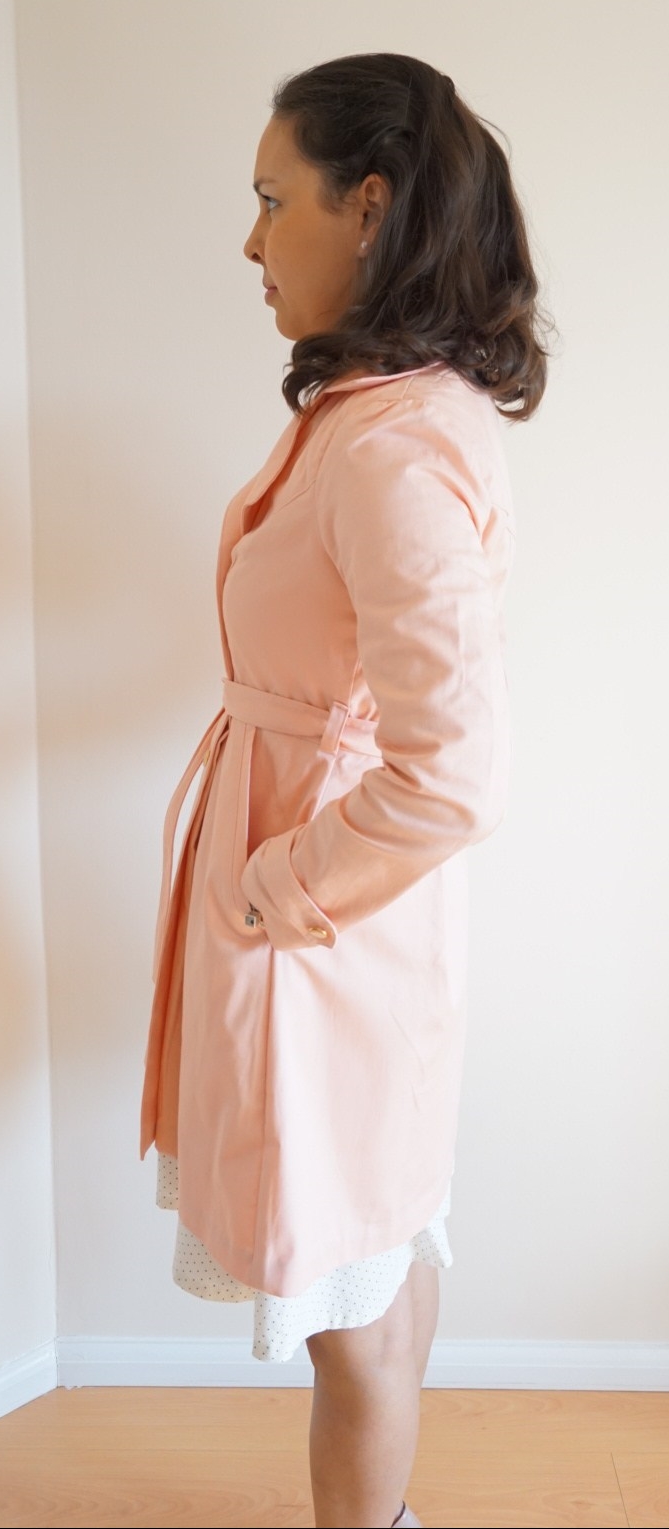
I used some pretty vintage buttons from my button stash, they are from the 1960’s and were made in the Czech Republic! LIKE A BOSS!I love my new trench coat sooooooooooo much!!
PS: The dress I’m wearing is my second Vintage Shirtdress by Sewoverit, it’s also my favorite.
DE: Was das tatsaechliche naehen des Trench Coats angeht, kam alles erstaunlich schnell zusammen, ich hatte schon einmal einen Schnitt von Deer und Doe probiert und mir gefielt, dass alle Markierungen gepasst haben und das Endprodukt immer sehr schick und sauber ausfiel. Das alle Naehte mit Querband versaeubert wurden fand ich echt super, das ist so ein toller Eyecatcher, wenn man den Mantel aufmacht!
Ich habe vintage Knoepfe aus meinem Lager verwendet, die stammen aus den 1960s aus der Tschechischen Republik, ich finde die passen hervorragend zum Mantel! Ich liebe meinen neuen Trench und bis so froh, dass ich mich an diesen Schnitt getraut habe!
PS: Das Kleid ist uebrigens mein zweites Vintage Shirtdress von Sewoverit, es ist auch mein Lieblingskleid.